
What grit sandpaper should I use between coats of wood finish?
For sanding between coats of wood finish, whether it's stain, varnish, or polyurethane, use a very fine grit sandpaper, typically 220-320 grit. The goal is to lightly scuff the surface to create a better mechanical bond for the next coat, not to remove material or the previous finish. Our staff provide consultative guidance at the paint counter, helping homeowners select products and finishes while also serving professional painters who need fast, reliable supply and technical expertise. We'll guide you to the exact sandpaper and technique for a flawless finish.
Why sanding between coats matters for a lasting finish
Sanding between coats of finish serves two main purposes: it smooths out any minor imperfections, dust nibs, or raised grain from the previous coat, and it creates a microscopic texture for the next coat to adhere to. This process, often called 'scuff sanding,' is crucial for achieving a durable, even, and professional-looking finish. Skipping this step can lead to a finish that peels, chips, or lacks depth, especially in high-traffic areas or on furniture that sees a lot of use in homes across Smiths Falls and Lanark County.
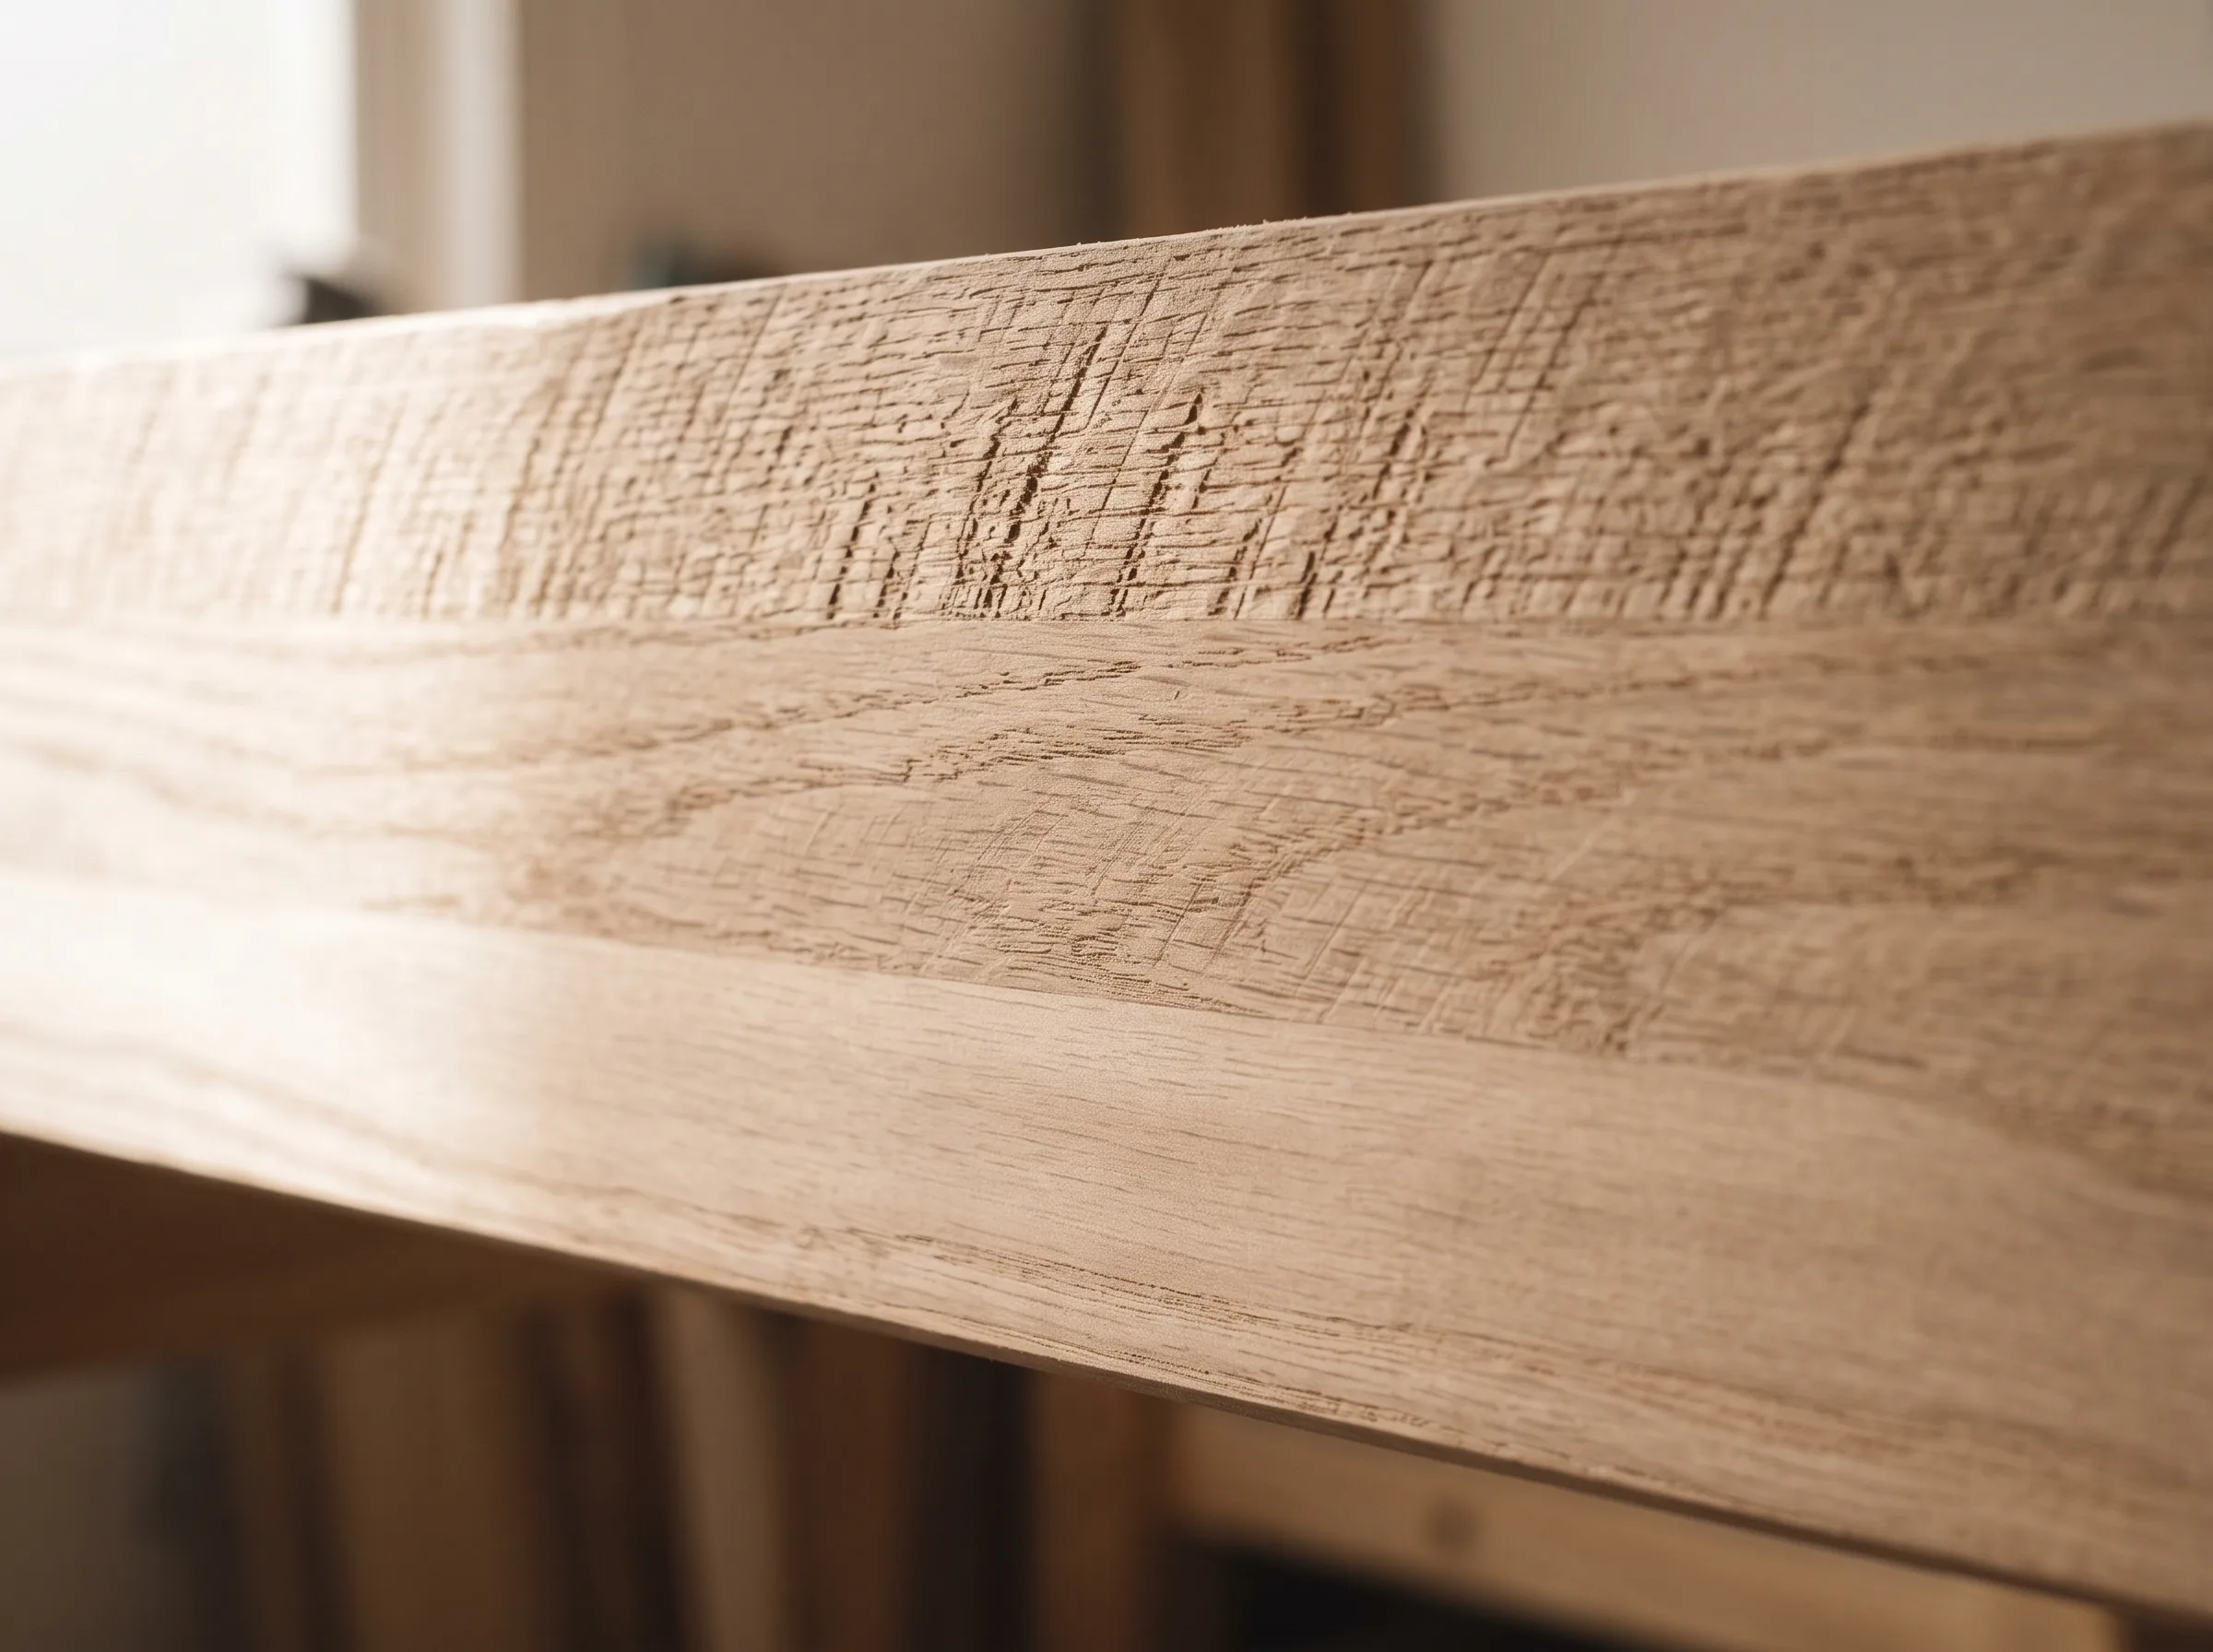
What each grit actually leaves behind
Sanding is a sequence, not a single step. A coarse grit cuts fast but leaves scratch lines deep enough to catch stain and telegraph through a clear coat. Every finer grit exists to remove the scratches the previous one left, which is why skipping grades rarely saves time. Between coats you are not shaping the wood at all, only knocking down raised grain and dust nibs, so the finest grades are the ones that matter.
Grit progression: From bare wood to your final coat
Starting with bare wood, you'll use coarser grits (e.g., 80-120) to remove milling marks and shape the wood. Gradually progress to finer grits (150-180 for most projects, 220 for very fine work) before applying your first coat of stain or sealer. Once that first coat is dry, then you move into the 'between coats' sanding. The key is never to jump more than one grit level at a time to avoid leaving deep scratches that subsequent, finer grits can't remove. For your final topcoats, stick to 220-320 grit, ensuring you don't cut through the previous layers. For MF Portico exterior stains or MF Summum interior finishes, this careful progression ensures maximum adhesion and longevity. Our staff speak the language of professional painters, understand contractor workflow needs, and provide fast, reliable service for trade accounts, ensuring you get the right products for MF Proline or other MF Paints lines.

Your Finishing Project, Simplified
Navigating the nuances of wood finishing can feel overwhelming. From selecting the right stain to understanding sanding techniques, every step impacts the final look and durability. At Falls Decor, we simplify this for you, providing clear guidance and the right products to ensure your project, big or small, turns out beautifully. We're here to help you achieve that smooth, professional finish you're aiming for. Choosing paint shouldn't feel like a gamble. We'll help you get it right.
How to sand between coats without damaging the finish
The trick to sanding between coats is to be gentle. Use a light touch and a sanding block to ensure even pressure and prevent 'dishing' or creating uneven spots. Sand in the direction of the wood grain, and avoid over-sanding. You're not trying to remove the previous coat, just to dull its sheen and create a fine texture. After sanding, thoroughly clean the surface with a tack cloth or a vacuum to remove all dust before applying the next coat. Any leftover dust will create bumps and imperfections in your final finish, requiring more work later. Our staff provide consultative guidance at the paint counter, helping homeowners select products and finishes while also serving professional painters who need fast, reliable supply and technical expertise.
Common mistakes and how Falls Decor helps you avoid them
Many serious DIYers make common errors when sanding between coats. Using too coarse a grit is a frequent mistake, leading to scratches that show through the final finish. Another is not cleaning the dust adequately, which leaves bumps. Uneven pressure can also create noticeable low spots. To avoid these, always start with the recommended fine grit (220-320), use a sanding block for consistent pressure, and clean meticulously. If you're unsure, or worried about picking the wrong product, come talk to our staff. Our staff are patient, non-judgmental, and happy to help clients of all experience levels. They have years of combined experience helping countless homeowners and contractors in Smiths Falls and Lanark County get their projects right the first time, every time. We foster personal relationships, community trust, and accountability that chain stores cannot replicate due to our small-town, locally-owned positioning.
The questions we get asked most.
While fine steel wool (0000 grade) can be used for light scuffing, especially on carved or intricate surfaces, it's generally not recommended for sanding between coats of finish that will be exposed to moisture or extreme temperatures. Steel wool can leave behind tiny metal fibers that may rust and cause dark spots, especially with water-based finishes. For most wood finishing projects, fine-grit sandpaper is a safer and more consistent choice. If you're unsure, our staff can provide consultative guidance at the paint counter.
The drying time before sanding depends on the type of finish you're using. Always refer to the manufacturer's recommendations on the product label. Generally, oil-based finishes like MF Paints varnishes need 24-48 hours to dry sufficiently, while water-based finishes might be ready in 2-4 hours. The finish must be completely dry and hard to the touch; sanding too soon can gum up the sandpaper and mar the finish. Our staff can help clarify drying times for MF Paints products.
If you accidentally sand through a previous coat of stain or finish, you'll need to address it before applying the next layer. For stains, this might mean carefully spot-staining the affected area to match the surrounding colour, then letting it dry completely. For clear coats, you might need to apply another thin coat of finish to the affected area, let it dry, and then carefully re-sand. The key is to catch it early and fix it before moving on to avoid visible imperfections in the final finish. Our staff are patient, non-judgmental, and happy to help clients of all experience levels if you run into this situation.