
Why Is My Paint Bubbling or Blistering?
Paint bubbling or blistering occurs when there's a loss of adhesion between the paint film and the surface beneath it, or between coats of paint. This separation is typically caused by moisture, heat, or improper surface preparation, leading to unsightly raised pockets on your walls or other painted surfaces.
Common causes
Noticing bubbles or blisters in your freshly painted walls can feel like a setback. It's a common paint failure, but one that often points to underlying issues with either the surface or the application process. Understanding these common causes is crucial for preventing future problems and ensuring your next paint job lasts.
From trapped moisture to inadequate drying times, a variety of factors can contribute to paint bubbling. We'll walk you through the most frequent culprits so you can identify what might be happening with your paint.
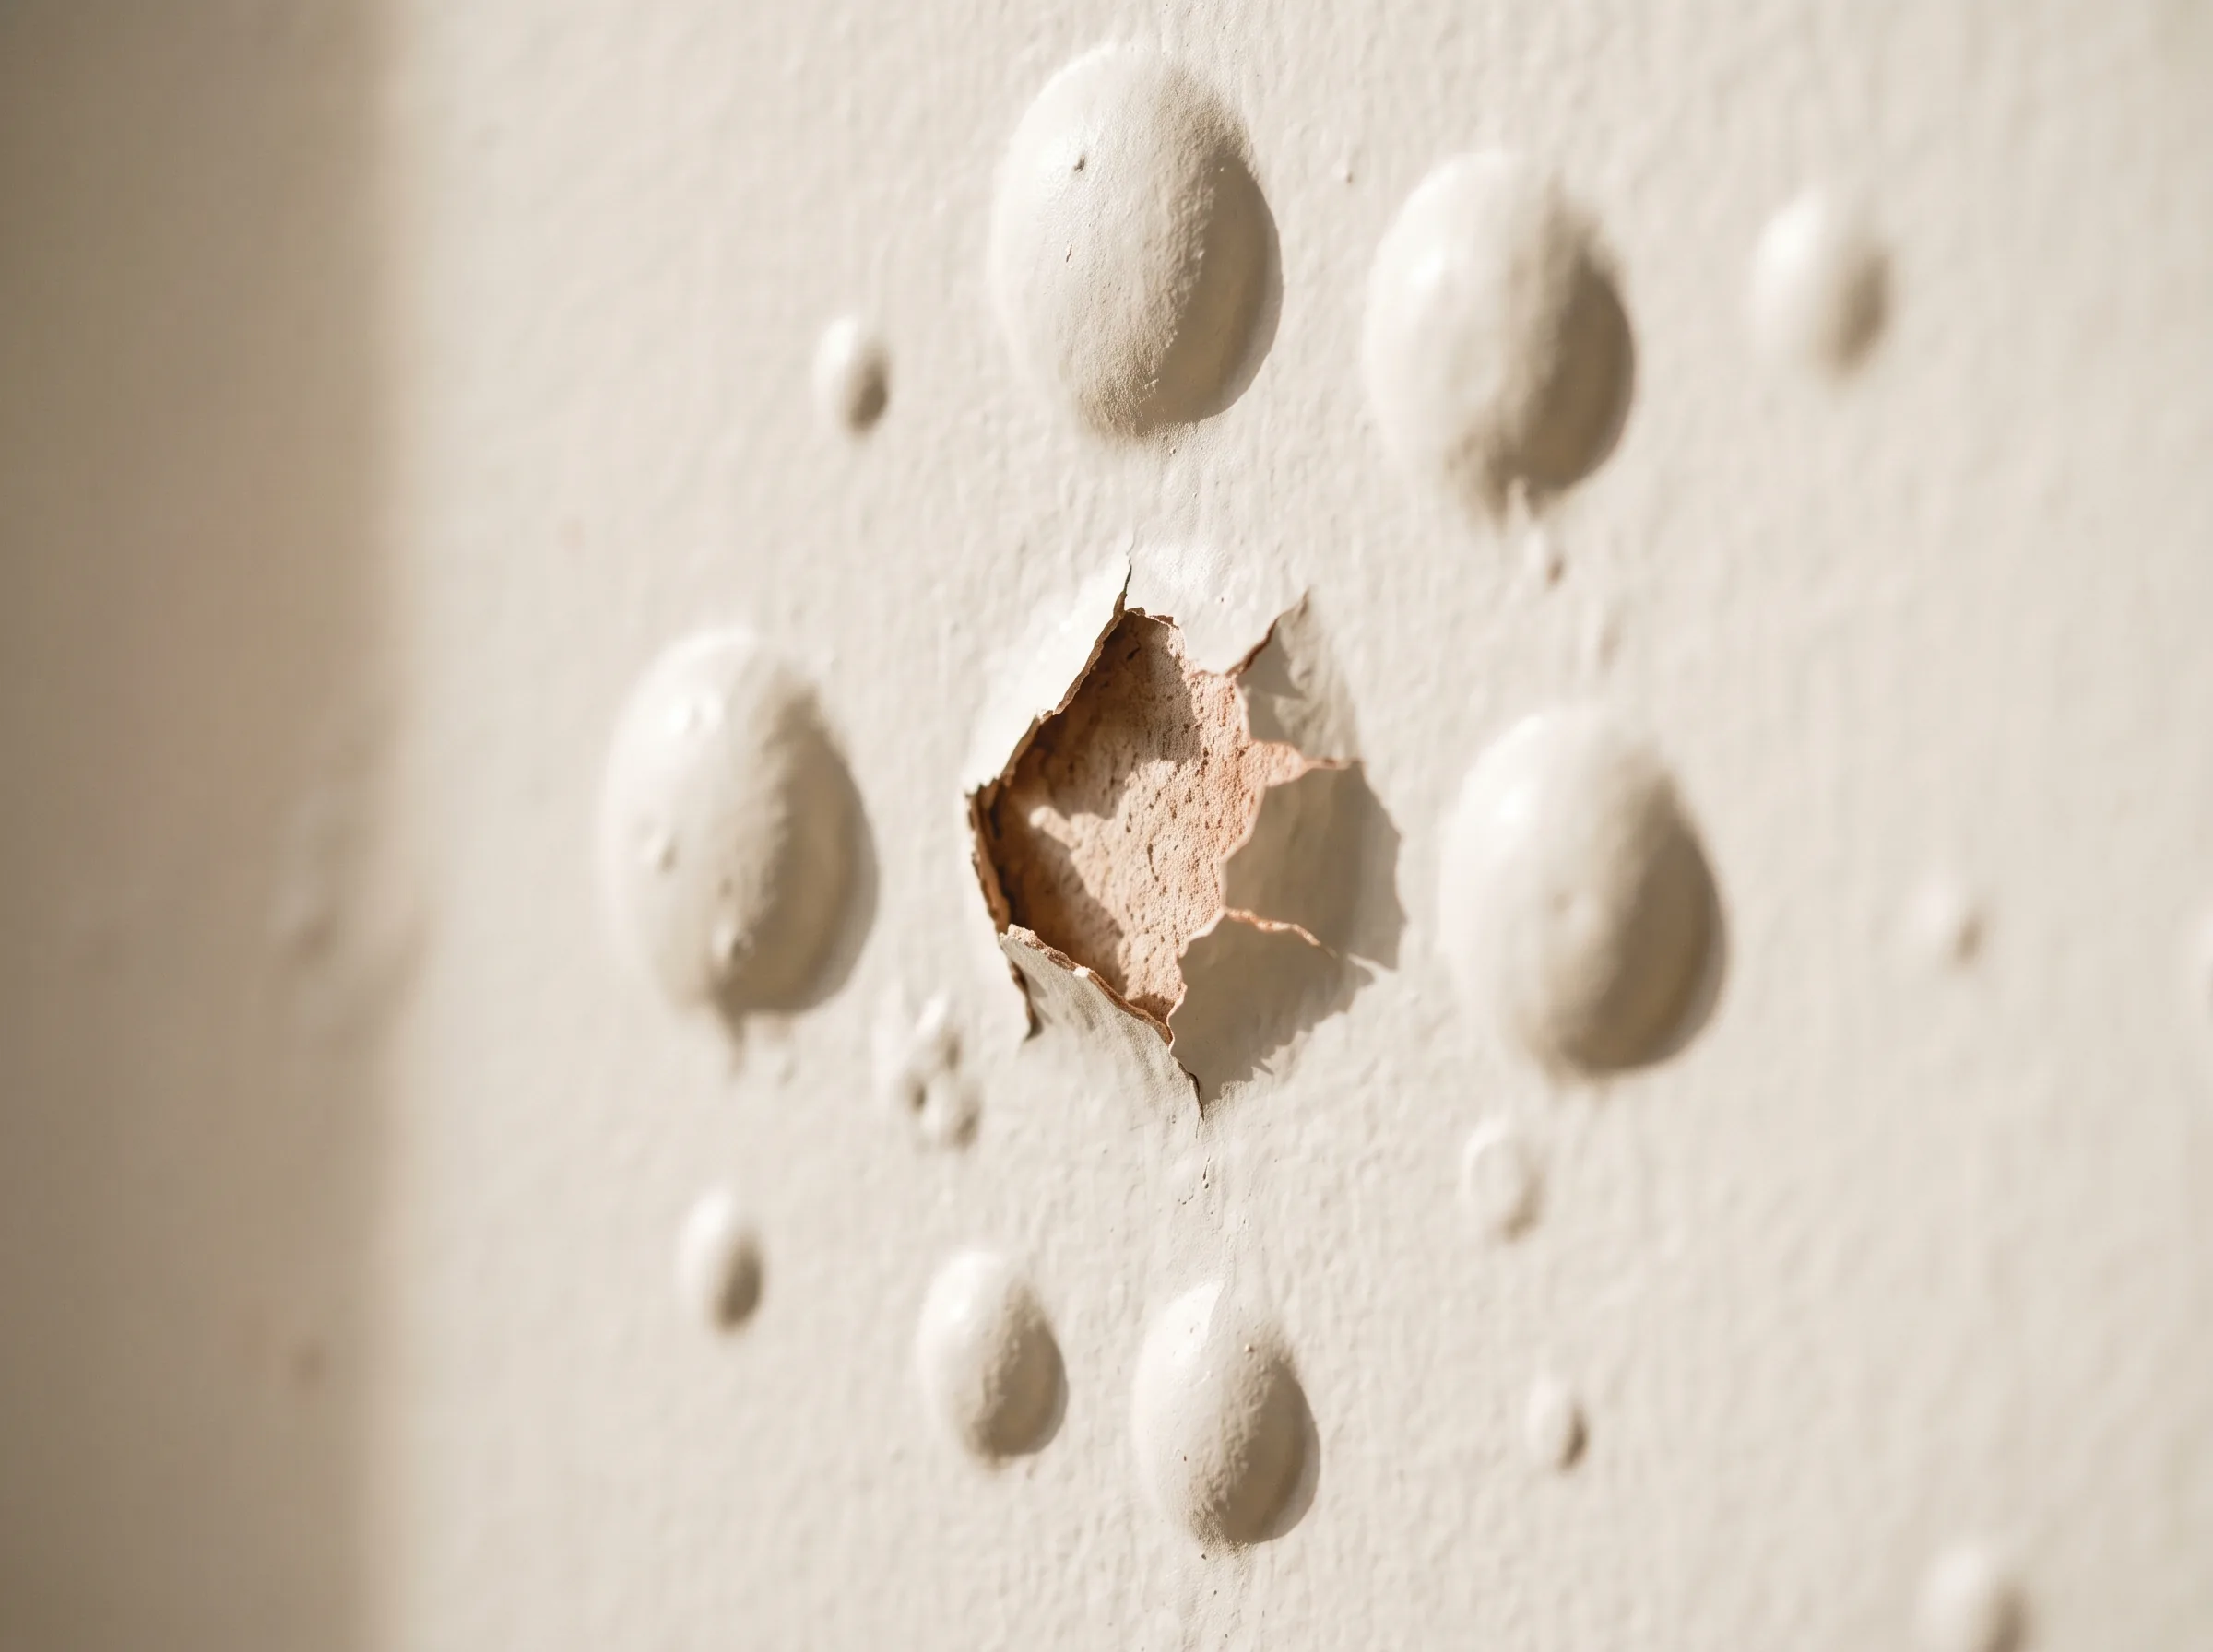
What blistering looks like up close
Blisters are pockets of paint that have lifted off the surface underneath while the film itself is still intact. Break one open and you see bare substrate, not a second coat of paint, and that tells you the bond failed at the surface rather than between coats. Flaking or cracking with no dome to it is a different failure with a different fix, so it is worth looking closely before you start scraping.
Moisture Trapped Beneath
One of the most frequent causes is moisture. If water or humidity gets trapped between the paint and the surface, it tries to escape, pushing the paint film outwards. This can happen in high-humidity areas like bathrooms or if exterior surfaces aren't fully dry before painting.
Improper Surface Prep
Painting over a dirty, greasy, or poorly primed surface significantly reduces adhesion. Dust, oil, or old peeling paint can prevent new paint from bonding correctly, making it prone to lifting and forming bubbles.
Excessive Heat Exposure
Applying paint in direct sunlight or on a hot surface can cause the top layer to dry too quickly, trapping solvents beneath the surface. As these solvents try to evaporate, they create bubbles. Heat can also reactivate existing moisture problems.
Applying Thick Coats
Applying paint too thickly, especially in humid conditions, can lead to the surface drying before the underlying layers. This traps solvents, which then try to escape, causing bubbles. Multiple thin coats are always better than one thick one.
How to tell if the bubbling is a surface or paint problem
Distinguishing between a surface issue and a paint product issue is key to a successful repair. Bubbles caused by surface problems, like moisture or dirt, usually appear randomly and can vary in size. If the bubbles are small and evenly distributed, it might indicate a problem with the paint itself or how it was applied, such as too-rapid drying or solvent entrapment.
Our staff, some with over 20 years behind the counter, can help you interpret the signs. Bring in a photo or even a small sample, and we can guide you on whether it's a substrate issue, a moisture problem, or related to the paint product or application. We're here to help you get it right, offering consultative guidance without judgment.
- 1
Inspect the location
Are the bubbles in a high-humidity area like a bathroom, or an exterior wall exposed to rain? This often points to moisture.
- 2
Check the bubble contents
Carefully pop a bubble. If it contains liquid, it's almost certainly moisture. If it's dry and powdery, it could be poor adhesion over dirt or old paint.
- 3
Consider recent conditions
Was the paint applied on a very hot day, or during high humidity? Rapid drying or trapped solvents are likely culprits in these scenarios.
Immediate steps to take when you see bubbling
Seeing bubbling paint can be frustrating, but don't panic. Taking the right immediate steps can prevent further damage and make the repair process smoother. Your first priority should be to identify and stop the source of the problem, especially if moisture is involved.
- 1
Identify the source
If you suspect moisture, find the leak or source of humidity and address it. This is critical before any repair work begins.
- 2
Allow to dry completely
Ensure the area is thoroughly dry. This might involve using fans or dehumidifiers, especially in interior spaces.
- 3
Gently scrape affected areas
Once dry, carefully scrape away the bubbled paint. Be gentle to avoid damaging the underlying surface.
- 4
Clean the surface
Clean the exposed surface to remove any dirt, grease, or loose paint particles. A clean surface is essential for proper adhesion.
When to scrape and repaint vs. when to call a professional
For small, isolated areas of bubbling, especially if you've identified and fixed a simple cause like a minor leak or poor prep, scraping, cleaning, priming, and repainting yourself is often feasible. However, widespread bubbling, recurring issues, or bubbling caused by structural moisture problems (like a leaking roof or plumbing) usually warrant professional help.
Falls Decor stands behind the quality of MF Paints. While we don't offer a general satisfaction guarantee on all application outcomes (as conditions are outside our control), we guarantee the accuracy of our colour matching and if the colour match isn't right, we will remix it for free. For issues related to product defects, MF Paints offers specific product warranties. We can help you understand these terms and determine if a product issue is at play, or if it's a more complex surface problem requiring a contractor. We also staff our counter with patient, non-judgmental experts happy to help clients of all experience levels.
Next step
Addressing paint bubbling effectively starts with accurate diagnosis and proper preparation. If you're unsure about the cause or the best way to tackle the repair, don't hesitate to reach out. We're here to provide the guidance and quality MF Paints products you need for a lasting finish. Download our guide to learn more about surface preparation.