
Achieve Professional Paint Edges
Cutting in refers to the technique of applying paint precisely along edges where two surfaces meet, such as walls meeting ceilings, trim, or other walls. It eliminates the need for painter's tape and is crucial for achieving a clean, professional finish without smudges or uneven lines, making your entire painting project look polished.
What is cutting in and why it matters
Cutting in is often the most intimidating part of painting for homeowners and DIYers alike. The fear of getting wobbly, uneven lines along your ceiling, trim, or corners can make the whole project feel daunting. But mastering this technique is the secret to a truly professional-looking paint job. It’s about control, precision, and understanding your tools.
When done correctly, cutting in allows you to create sharp, clean lines that define your space and highlight architectural details. It shows attention to detail and elevates the overall aesthetic of your room. Plus, it can save you time and frustration compared to meticulously taping every edge.
- 1
Tip 1: Use the right brush
A high-quality angled sash brush (2-2.5 inches) is essential. The angled bristles give you better control for precise lines. Our staff, some with over 20 years behind the counter, can guide you to the perfect brush for cutting in, making sure you start with the right tool for the job.
- 2
Tip 2: Don't overload your brush
Dip only about one-third to half of your brush bristles into the paint. Tap off excess paint gently against the side of the can, rather than wiping it. Too much paint will make it harder to control and more prone to dripping.
- 3
Tip 3: Apply consistent pressure
Hold the brush like a pencil for maximum control. Start a few inches away from the edge, then glide the brush towards it, letting the bristles fan out slightly to create a clean line. Maintain even pressure throughout your stroke.
- 4
Tip 4: Work in sections
Don't try to cut in an entire wall at once. Work in manageable sections, typically 2-3 feet at a time. This allows you to maintain a wet edge, ensuring smooth transitions and preventing lap marks.
- 5
Tip 5: Keep a steady hand
Rest your non-painting hand on the wall or ceiling near where you're painting for stability. This acts as a brace and helps minimize tremors, allowing for a much straighter line. Take breaks if your hand gets tired.
Common mistakes to avoid
Even experienced painters can make mistakes. One common error is rushing the process, which leads to shaky lines and drips. Another is using too much paint, making control difficult. Don't forget to properly clean your brushes immediately after use; dried paint can ruin bristles and make future cutting-in attempts much harder. If you find your colour match isn't looking right after it dries, remember that Falls Decor guarantees colour matching accuracy. If the match isn't right, we will remix it for free.
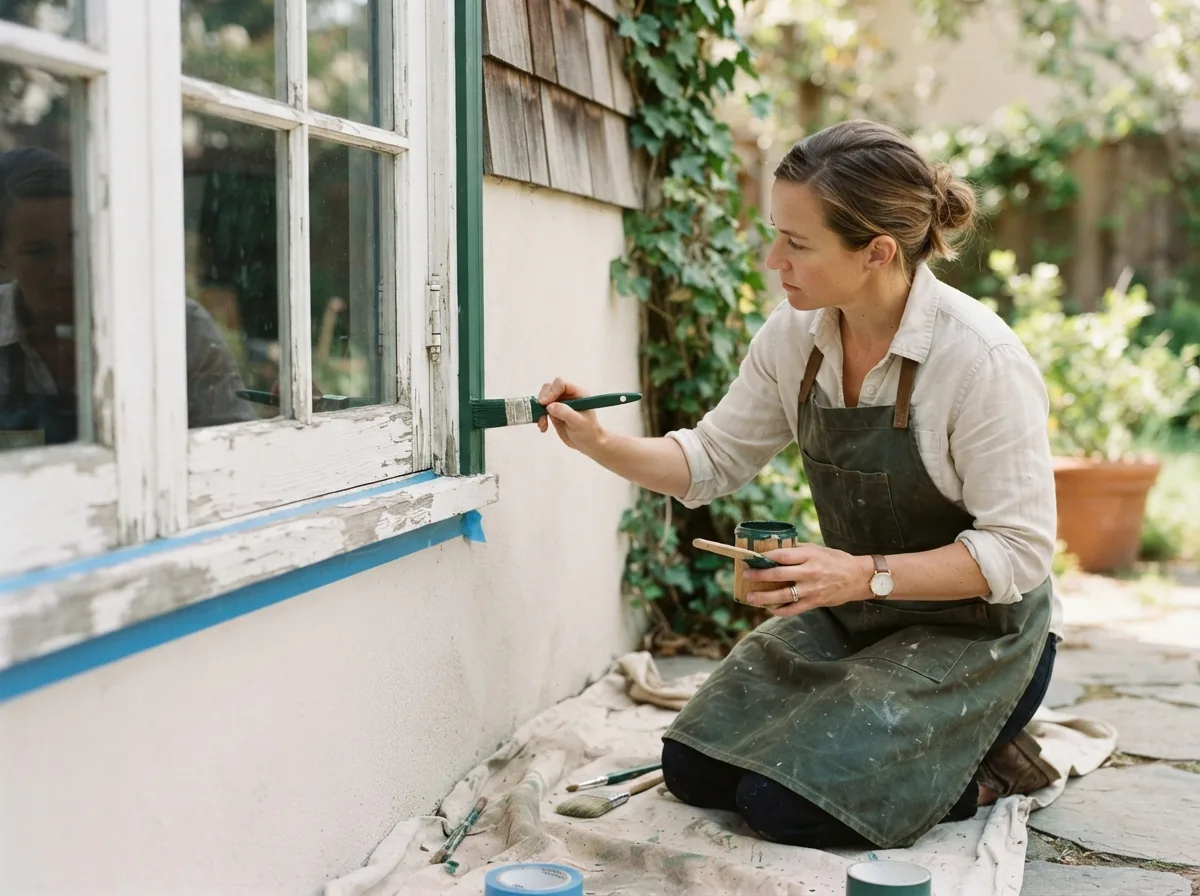
When to use tape vs. freehand cutting in
While freehand cutting in is a skill worth developing, there are times when painter's tape is your best friend. For very intricate trim, textured surfaces, or if you're feeling less confident, high-quality painter's tape can provide a crisp edge. However, for most standard walls and ceilings, practicing freehand will make you faster and more efficient in the long run. The key with tape is to apply it firmly and remove it while the paint is still slightly wet to prevent tearing the paint film.
The questions we get asked most.
Any high-quality interior latex paint can be used for cutting in. MF Paints, a 100% Canadian brand crafted since 1967, offers excellent coverage and workability, making it easier to achieve clean lines. The consistency of the paint plays a big role in how easily it can be cut in.
To prevent bleeding, ensure your painter's tape is pressed down firmly along the entire edge. You can also apply a thin coat of the base color (or a clear sealant) first, let it dry, then paint your new color. This seals the tape edge and prevents bleed-through. Remember to remove the tape while the paint is still slightly wet.
Don't panic! For small errors, a damp cloth or a small artist's brush can be used to carefully wipe away wet paint or touch up a line. If the paint has dried, you might need to use a utility knife to carefully score the line before touching up with the correct color. Our staff at Falls Decor are patient, non-judgmental, and happy to help clients of all experience levels with any painting challenges.