
How to Paint Kitchen Cabinets Without Brush Marks
To paint kitchen cabinets without brush marks, the key steps involve proper surface preparation, using high-quality self-leveling paint designed for cabinets, selecting the right applicator (a fine-finish brush or microfibre roller), and applying thin, even coats with proper drying time between layers. Avoiding common mistakes like overworking the paint or painting in high humidity also ensures a smooth, professional result.
Why brush marks happen
Visible brush marks are a common concern when painting kitchen cabinets, often leaving a DIY project looking less than desired. These marks typically occur because the paint dries too quickly, doesn't have enough time to 'level out' before setting, or because of incorrect application techniques. Factors like paint type, brush quality, and even environmental conditions in your Smiths Falls home can contribute to this issue. Understanding these causes is the first step toward achieving a perfectly smooth finish.
- 1
Step 1: Choose the right paint and brush
Selecting the correct paint and tools is crucial. Opt for a high-quality acrylic-alkyd hybrid or a dedicated cabinet paint that offers self-leveling properties. These paints are formulated to flow out smoothly, minimizing brush marks. For brushes, choose a fine-bristle synthetic brush, or a high-density foam roller for a spray-like finish. Our staff, some with over 20 years behind the counter, can tell you which MF Paints product, like MF Portico or Summum, is best for your cabinet material and desired finish, ensuring you start with the right foundation.
- 2
Step 2: Prepare your cabinets meticulously
Proper preparation is non-negotiable. Remove all cabinet doors and hardware. Clean surfaces thoroughly with a degreaser to remove grease and grime. Lightly sand all surfaces with 220-grit sandpaper to create a profile for the paint to adhere to, then wipe away dust. Finally, apply a high-quality primer. This step ensures optimal adhesion and a uniform base for your topcoats.
- 3
Step 3: Apply thin, even coats
Avoid applying thick layers of paint. Multiple thin coats are always better than one thick coat, as thick coats are more prone to showing brush marks and drips. Apply paint in the direction of the wood grain, using long, even strokes. For doors, work in sections, ensuring wet edges overlap to prevent lap marks. This method helps the paint self-level effectively.
- 4
Step 4: Allow adequate drying time
Patience is key. Rushing between coats is a common mistake that leads to brush marks and poor adhesion. Always follow the manufacturer's recommended drying times between coats, which can vary based on humidity and temperature. If necessary, a light sanding with fine-grit sandpaper (400-grit or higher) between coats can smooth out any imperfections, but ensure the paint is fully cured first.
- 5
Step 5: Practice proper brush loading and technique
Don't overload your brush or roller. Dip only about one-third of the bristles into the paint, then tap off excess. When applying, use gentle, consistent pressure. For brushes, 'tip off' each section by lightly running the brush over the freshly painted area in one smooth stroke after application, which helps smooth out any lines. For rollers, roll out the paint evenly, then lightly back-roll to remove roller marks.
Common mistakes to avoid
Achieving a smooth, brush-mark-free finish on kitchen cabinets is entirely possible for serious DIYers, but it requires avoiding a few common pitfalls. One frequent mistake is painting in adverse environmental conditions; high humidity or extreme temperatures can affect paint dry time and flow. Another error is overworking the paint, which means going back over areas that have already started to dry, leading to unsightly drag marks. Also, neglecting to clean and properly prepare the surface before priming will undermine even the best paint. Remember, if the colour match isn't right because of an issue with the product, we'll remix it for free.
When to consider a sprayer
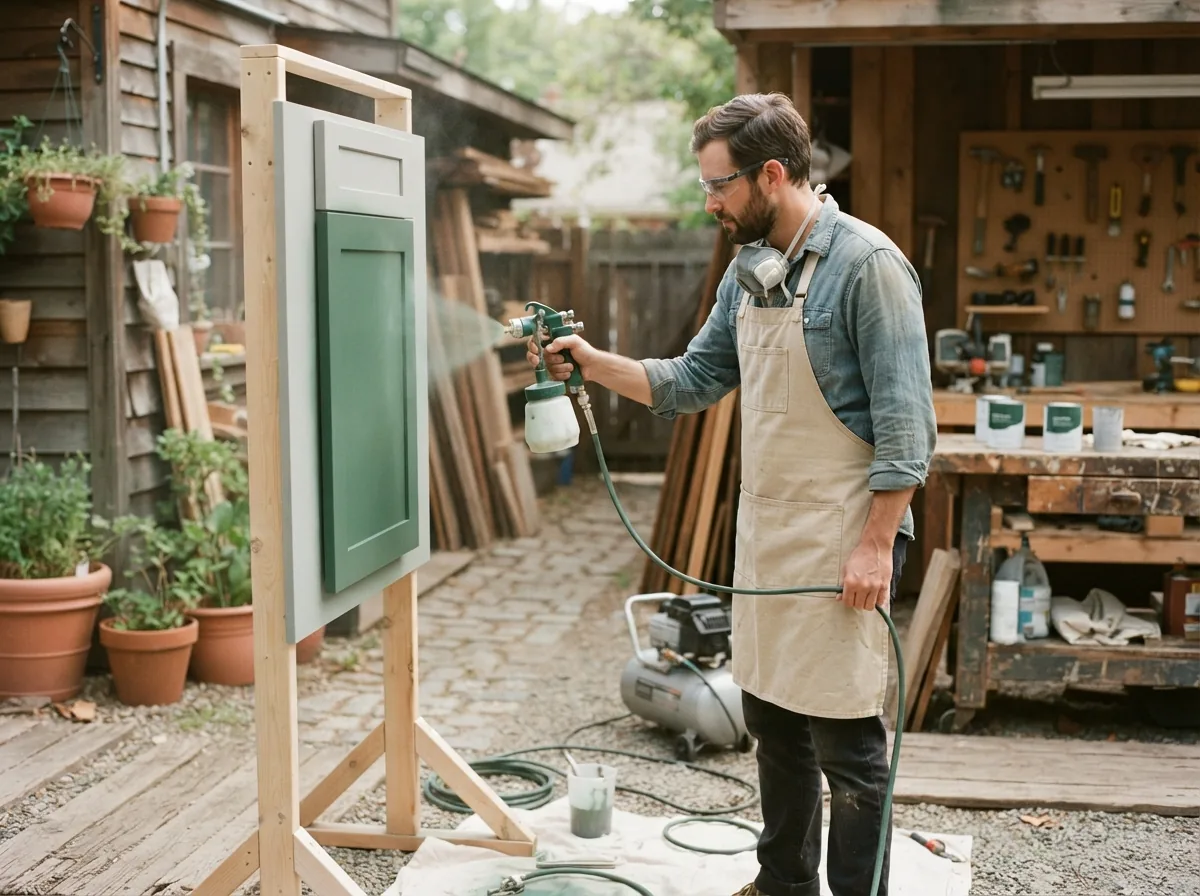
For the absolute smoothest, factory-like finish, a paint sprayer is often the best tool. Sprayers eliminate brush and roller marks by atomizing the paint into a fine mist, creating a perfectly even coat. While they require more setup and masking, and a learning curve for proper technique, the results on kitchen cabinets can be unmatched. If you're tackling a large kitchen or aiming for a truly professional appearance, renting or investing in a paint sprayer might be worth considering for your Smiths Falls home project.
The questions we get asked most.
Acrylic-alkyd hybrid paints or dedicated cabinet paints with self-leveling properties are generally the best choice. Brands like MF Paints Portico or Summum lines are formulated to flow out smoothly, minimizing visible brush strokes and providing a durable finish suitable for kitchen environments.
To prevent paint from drying too quickly, avoid painting in direct sunlight or high temperatures. You can also add a paint extender or flow enhancer to your paint, which slows down the drying time, giving the paint more time to level out. Always check the paint manufacturer's recommendations before adding any additives.
It's often recommended to lightly sand between coats with a very fine-grit sandpaper (400-grit or higher) after the previous coat has fully dried. This helps to smooth out any minor imperfections, improve adhesion for the next coat, and ensure an ultra-smooth finish. Always clean off sanding dust thoroughly before applying the next coat.