
How to Paint a Room Step By Step Guide
Painting a room involves careful preparation, proper application techniques, and the right tools. A successful project starts with protecting your space, followed by surface cleaning and repairs, priming, and then applying two coats of paint using a combination of cutting-in and rolling. Finishing touches include inspecting for touch-ups and proper cleanup. Following these steps helps serious DIYers in Smiths Falls achieve a professional-looking result and avoid common pitfalls.
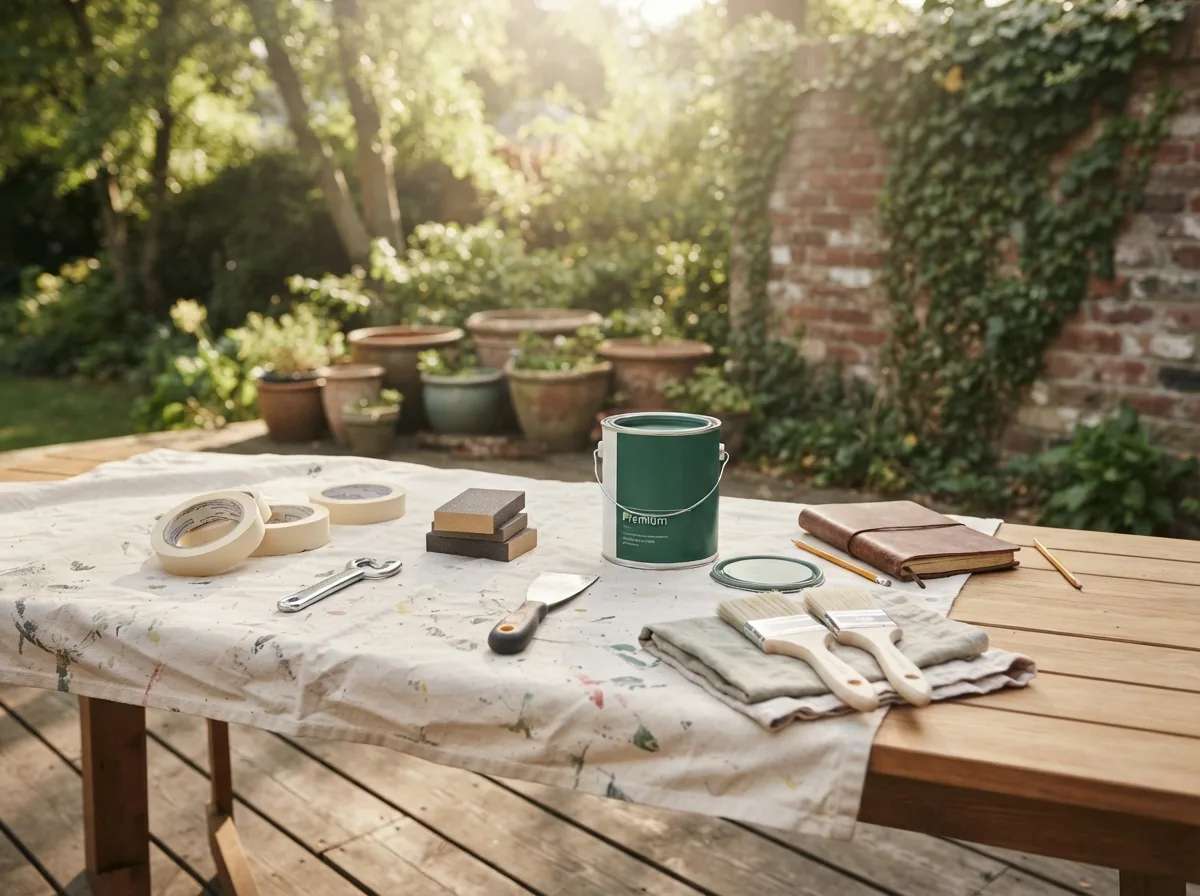
Get Ready: The Foundation of a Flawless Finish
Before you even open a can of paint, proper preparation is key. This stage protects your furniture and floors, ensures paint adheres correctly, and sets you up for a smooth, stress-free painting experience. It's where you prevent future headaches and ensure all your hard work pays off with a beautiful, lasting result.
- 1
Step 1: Protect Your Space
Clear the room of furniture, or move it to the center and cover it with plastic sheeting. Use painter's tape to protect trim, baseboards, window frames, and outlets. Lay drop cloths on the floor to catch any drips or spills. This step is crucial for an easy cleanup and protecting your home.
- 2
Step 2: Clean and Repair Surfaces
Wash walls with a mild cleaner to remove dirt, grease, and grime. Fill any holes or cracks with spackle, sand smooth, and wipe away dust. A clean, smooth surface ensures your paint adheres evenly and looks its best.
- 3
Step 3: Prime for Success
Apply a primer, especially if you're painting over a dark colour, a glossy finish, or making repairs. Primer helps the new paint adhere better, provides a uniform base, and ensures true colour. This step is vital for professional results.
- 4
Step 4: Cut In Around Edges
Using an angled brush, carefully paint a strip along the edges where walls meet the ceiling, corners, and around trim. This technique, known as 'cutting in,' creates clean lines and ensures full coverage in areas your roller can't reach. Take your time here for sharp results.
- 5
Step 5: Roll the Walls
Pour paint into a roller tray. Load your roller evenly and apply paint in 'W' or 'M' patterns, working in small sections. Overlap each stroke slightly to avoid roller marks. Maintain a 'wet edge' to ensure a smooth, consistent finish across the entire wall.
- 6
Step 6: Apply a Second Coat (If Needed)
Allow the first coat to dry completely according to the paint manufacturer's instructions, typically 2-4 hours. Apply a second coat using the same cutting-in and rolling techniques. Most colours benefit from two coats for optimal depth and durability.
- 7
Step 7: The Finishing Touches
Carefully remove painter's tape while the paint is still slightly wet to prevent peeling. Clean brushes and rollers thoroughly with water for latex paint or mineral spirits for oil-based. Touch up any small imperfections. Proper cleanup ensures your tools last and your space looks pristine.
Common mistakes to avoid
Even experienced DIYers can make small errors that impact the final look of a painted room. From rushing preparation to choosing the wrong tools, avoiding these common pitfalls can save you time and frustration. Our staff, some with over 20 years behind the counter, can guide you on everything from selecting the right MF Paints Proline primer for unpainted drywall to ensuring you have the correct roller nap for your wall texture. We're here to help you get it right the first time.
The questions we get asked most.
Choosing paint shouldn't feel like a gamble. At Falls Decor, we offer consultative guidance to help you select colours with confidence. We stand by our staff recommendations; if you're not satisfied with a colour we helped you choose, we’ll work with you to find a solution.
Our professional spectrophotometer equipment ensures accurate in-store colour matching. We guarantee our colour matches, and if the match isn't right once you see it in your home's lighting, bring it back. We will remix it for free to get it perfect for your space.
MF Paints, a 100% Canadian brand, is crafted with superior ingredients designed for better coverage, durability, and a smoother finish than many mass-market alternatives. While the initial cost might be slightly higher, you'll often save money and time in the long run by needing fewer coats and enjoying a more lasting result that stands up to Canadian climate testing.
Absolutely not. Our staff are patient, non-judgmental, and genuinely happy to help clients of all experience levels. Whether you're a seasoned painter or tackling your very first DIY project, we're here to offer clear, simple guidance and support you every step of the way without making you feel small.
To get a smooth finish with a roller, ensure you use the correct roller nap for your surface (shorter naps for smooth walls). Load the roller evenly, and apply paint in 'W' or 'M' patterns without pressing too hard. Always maintain a 'wet edge' by overlapping slightly into the previously painted section, and avoid overworking the paint. For more detailed tips, visit our guide on [/application-techniques-tools/how-to-get-a-smooth-finish-with-a-roller].
When to call a pro vs. DIY
Deciding whether to DIY a paint job or hire a professional often comes down to the complexity of the project, your comfort level, and the time you have available. For simple rooms, many homeowners find satisfaction in doing it themselves. However, for intricate details, high ceilings, or if you're short on time, a professional painter can be a worthwhile investment.
As a local alternative to big-box confusion, Falls Decor has been Smiths Falls neighbours helping neighbours for years. We understand the local context and can offer honest advice on whether a project is best tackled by you or a local professional. We foster personal relationships and community trust that chain stores cannot replicate, ensuring accountability and reliable advice for every situation.